Connecting Uber and Lyft Apps to Concur
This job aid covers the steps for connecting your Uber and Lyft apps to Concur. By connecting your ride apps, your trip receipts will automatically be sent to Concur Expense and Expense Items will be automatically generated.
Last Revision: September 2020
Details
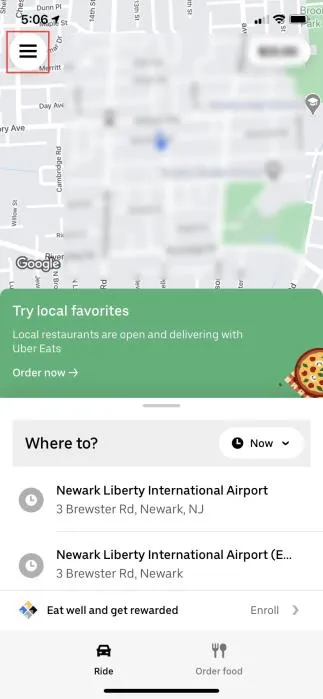
- Open the Uber app on your smartphone and select the Profile menu from the upper left corner.
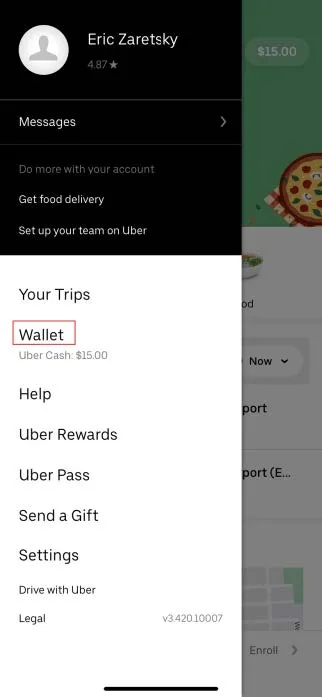
- Select Wallet.
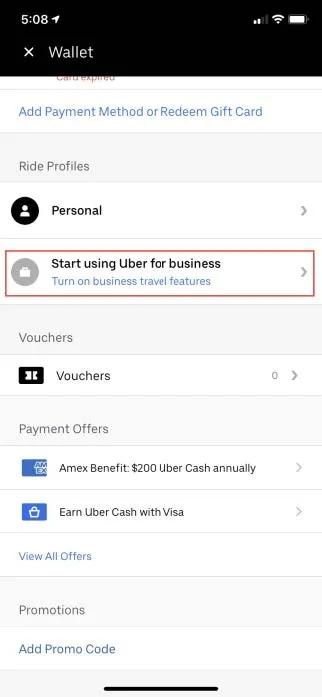
- Select Start using Uber for business.
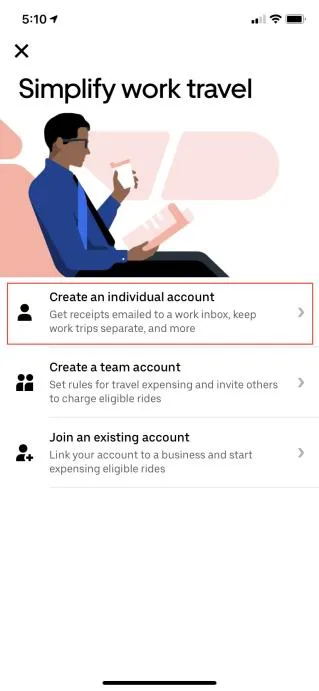
- Select Create an individual account.
- Select Join Now.

- Enter your Columbia email address associated with your Concur account and select Next.

- Select a previously added payment method or select Add Payment Method. If you have a Columbia Travel and Expense Corporate Card, you can add it here.

- Optionally, you can choose the frequency of Travel (Uber ride) reports. Select Next.

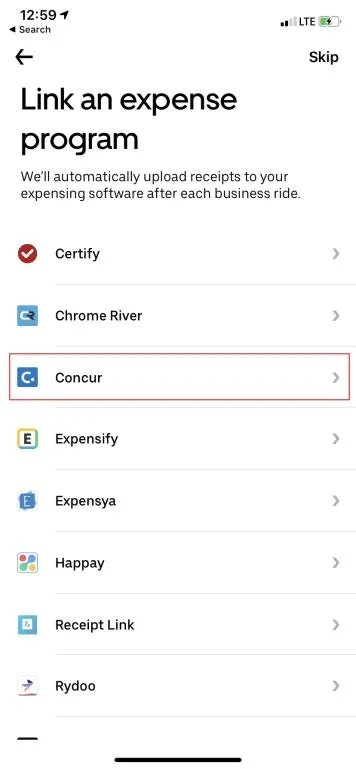
- Select Concur from the list of available expense programs. Go to your desktop to complete the process.
Completing the Uber Connection to Concur
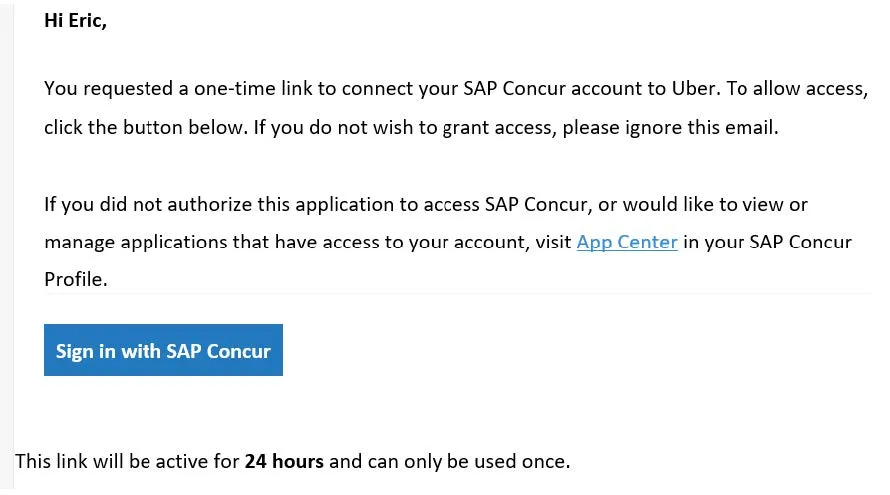
- You will receive an email containing a button to Sign in with SAP Concur. On your desktop email application, click the button.
- Sign-in as prompted. After signing-in, you will receive the following message.

- Open the Lyft app on your smartphone and select the Profile menu from the upper left corner.

- Select Payment.

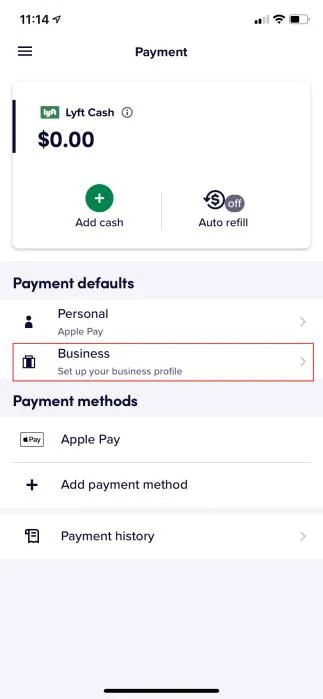
- Select Business.
- Select Create profile.
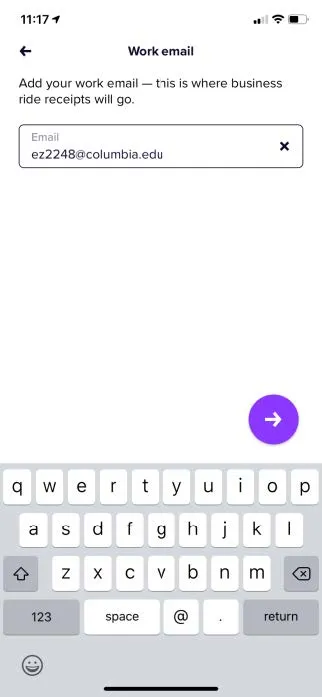
- Enter your Columbia email address associated with your Concur account and select the Next button. You will receive an email to verify your address.
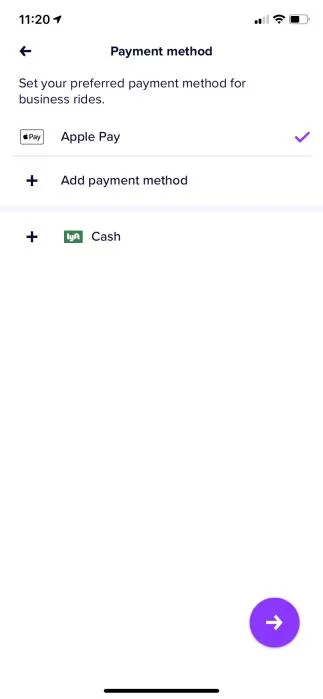
- Select a previously added payment method or select Add payment method. If you have a Columbia Travel and Expense Corporate Card, you can add it here. Select the Next button
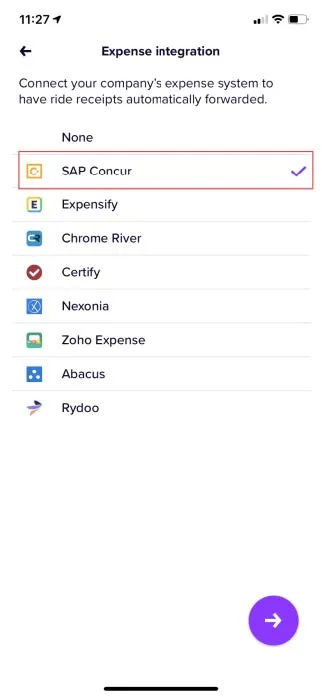
- Select SAP Concur from the list of available expense programs and select the Next button.
- Enter your Columbia email address associated with your Concur account. Select the option to Send a link to my email (required for Single Sign-On). Select Continue.
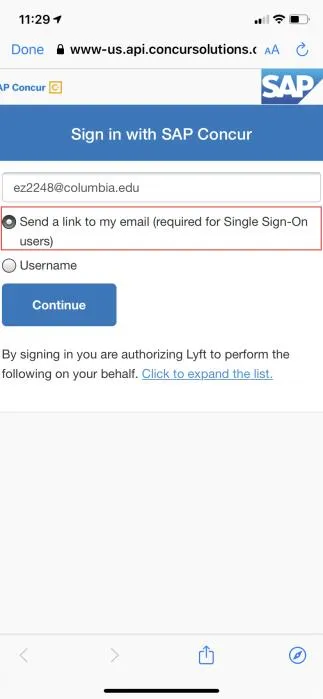
- Go to your desktop to complete the process.

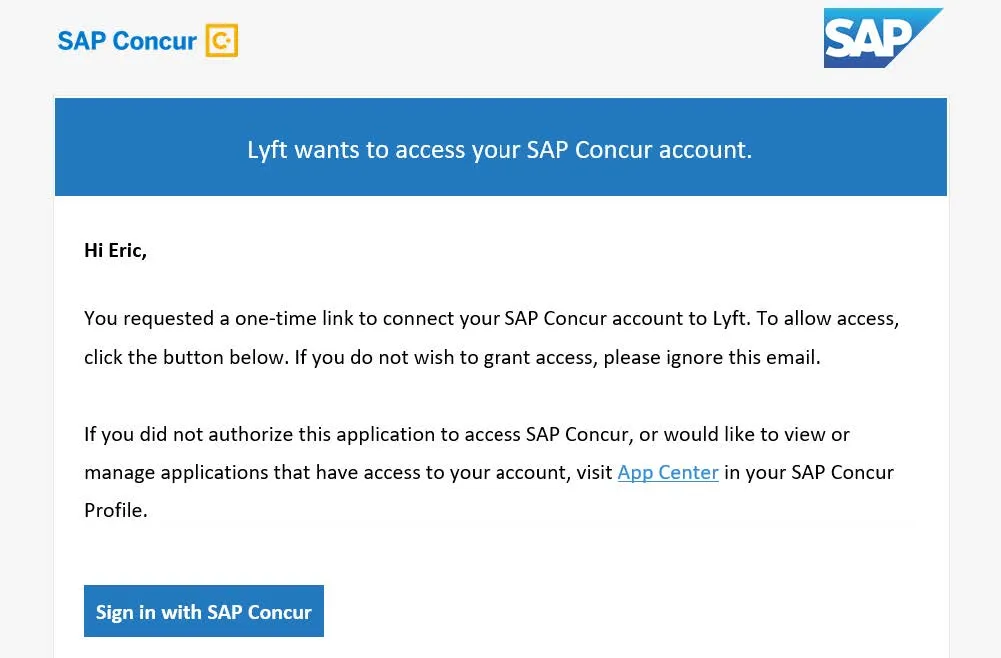
Completing the Lyft Connection to Concur
- You will receive an email containing a button to Sign in with SAP Concur.
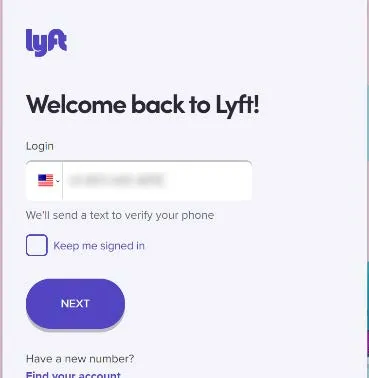
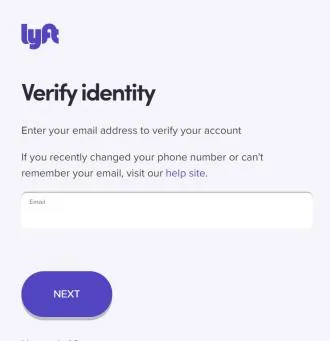
- Follow all the steps to verify your identity:
Enter your phone number associated with your Lyft account. Click Next. You will receive a verification code text message.
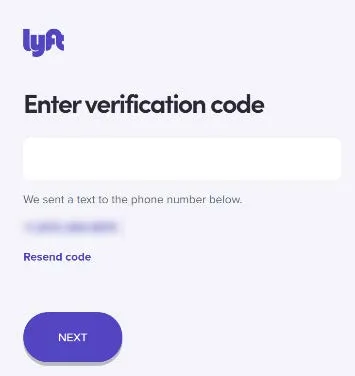
Enter the verification code from the text you received and click Next.
Click Yes, it’s me.

Enter your personal email address associated with your Lyft account and click Next.
After completing the sign-in/verification process, you will get the confirmation screen.

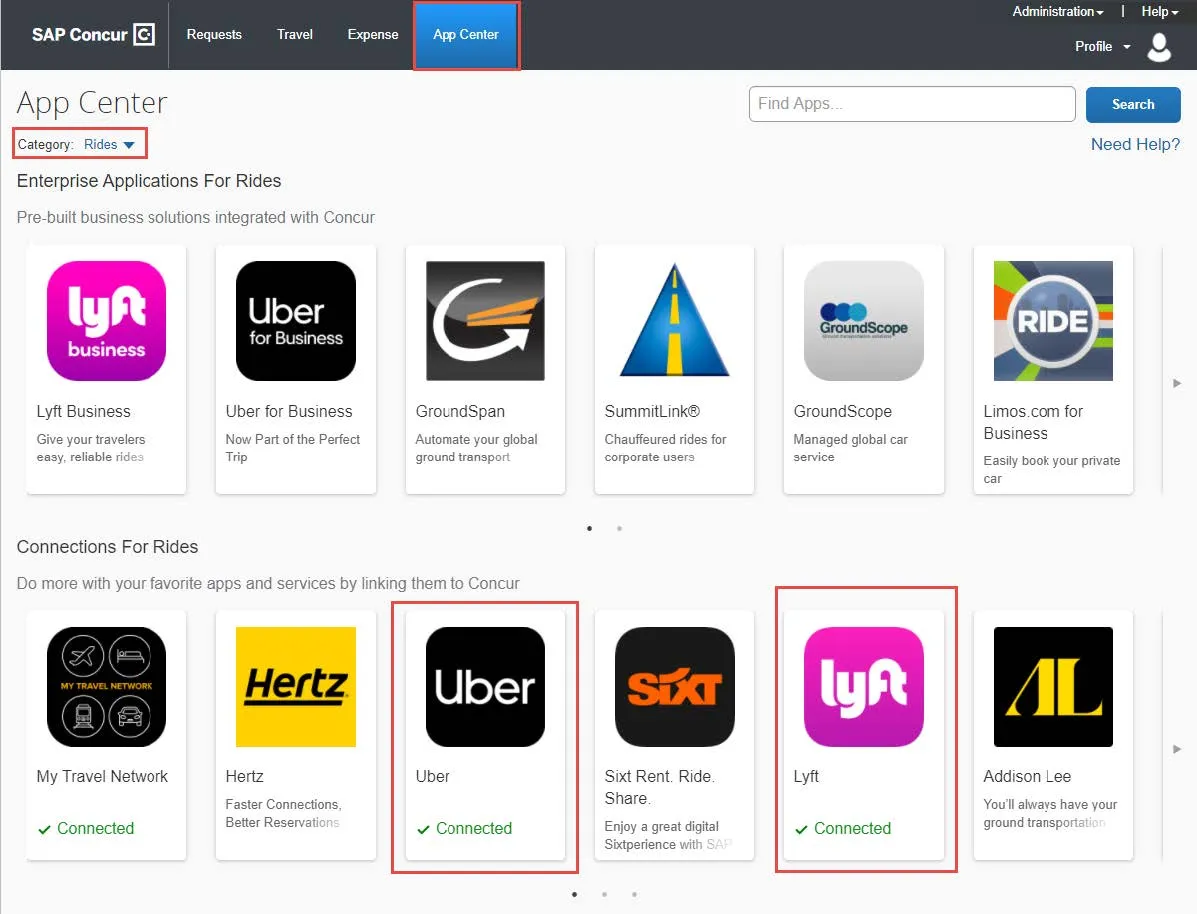
- In Concur, click the App Center.
- Select Rides from the Category dropdown. The Uber and Lyft icons will appear under Connections For Rides and the apps that you have linked will be designated as Connected.