CU Marketplace Shopping Quick Guide
The CU Marketplace powered by JAGGAER provides access to negotiated contracts and pricing with Columbia’s preferred suppliers. This Quick Guide covers how to create a Shopping Cart in the CU Marketplace and assign the cart to a colleague who has the Requester role.
For a detailed instruction on using the CU Marketplace, refer to the CU Marketplace for Shoppers Training Guide or the CU Marketplace for Requesters Training Guide . For instructions modifying your Profile settings, refer to the Modifying Profile Settings in the CU Marketplace job aid.
Last Revision: May 2025
Details
You can create a Shopping Cart with items provided by the enabled vendors in the CU Markeplace. Shoppers must then assign their Cart to a colleague who has a Requester role in order to have it submitted as a Requistion into workflow. Requesters can shop and submit their Cart as a Requistion into workflow but also have the option of assigning their Cart to another Requester, if needed.
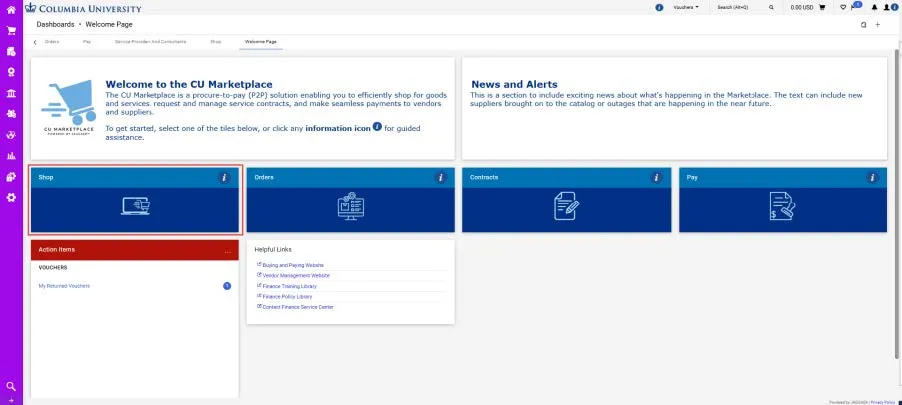
- . Navigate to the Finance Buying and Paying website, click the CU Marketplace logo, and login using your Single Sign On. The JAGGAER application launches.
Note: The CU Marketplace will automatically timeout after thirty minutes of inactivity, consistent with other University Enterprise Systems.
Note: The CU Marketplace will automatically timeout after thirty minutes of inactivity, consistent with other University Enterprise Systems.
- Click the Shop tile. The Shop dashboard appears.
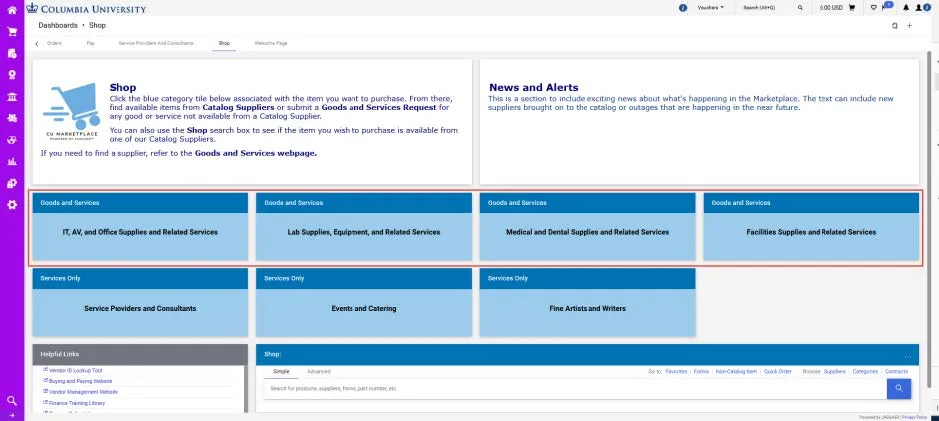
-
Select any of the Goods and Services tiles. The dashboard for that Goods and Services category appears.

- Select the tile for the desired Supplier from the Catalog Suppliers section. You will then “PunchOut” to the vendor website.
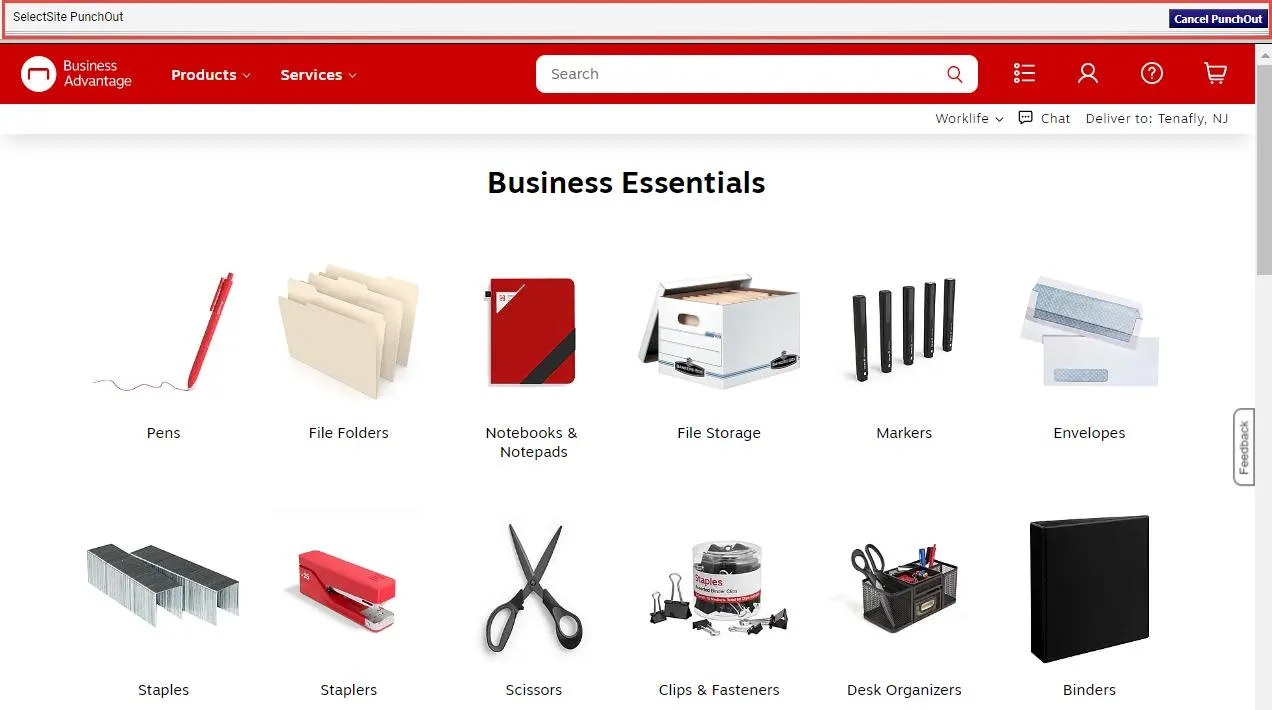
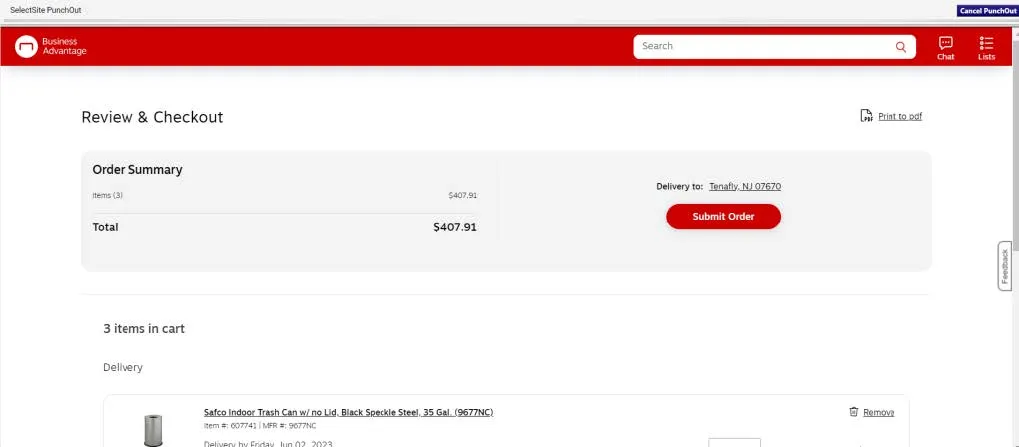
Notice the gray bar at the top of the vendor website which indicates you are punched out from the Marketplace. You can click the Cancel PunchOut button to return to the Marketplace, if needed.
- Shop the vendor website for the item(s) you want to purchase and add your desired items to the vendor’s cart.
- View the vendor site cart and Submit your order.
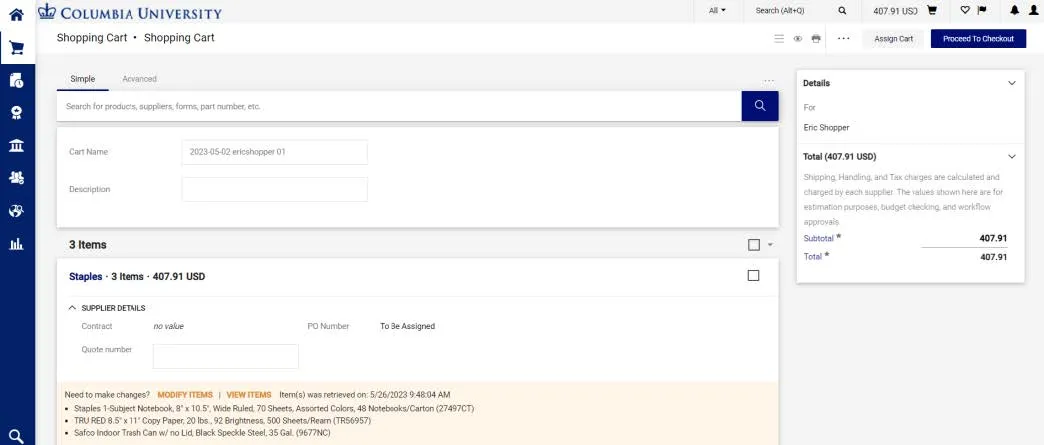
The items you selected appear in your Marketplace Shopping Cart.
If you are a Shopper who does not have a Requisition Initiator role, you must assign your Cart to a Requester so they can submit it into workflow for approval. Requesters can submit their own Cart into workflow but can also assign their Cart to another Requester. Requesters should refer to CU Marketplace Requesters Quick Guide or the CU Marketplace for Requesters Training Guide for instructions on viewing a Shopping Cart assigned to you and submitting it into workflow.
Shoppers can enter Ship To/Bill To Addresses and ChartString information before assigning their Cart to a Requester, but are not required to do so. Refer to the CU Marketplace for Shoppers Training Guide for detailed instruction. The Requester that submits the Cart must ensure that the Ship To/Bill To and ChartString information is entered at checkout before submitting into workflow.
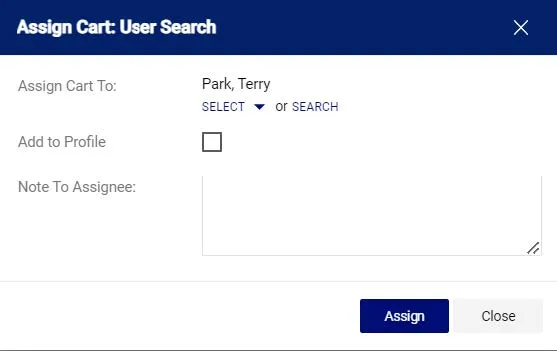
- On the Shopping Cart page, click the Assign Cart button. The Assign Cart window appears.

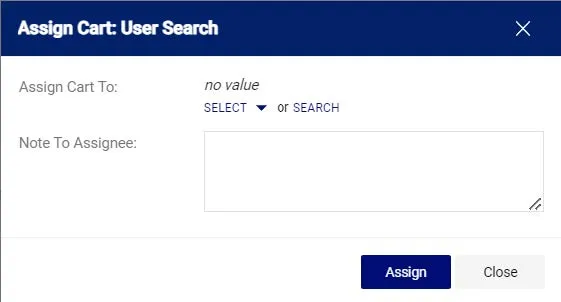
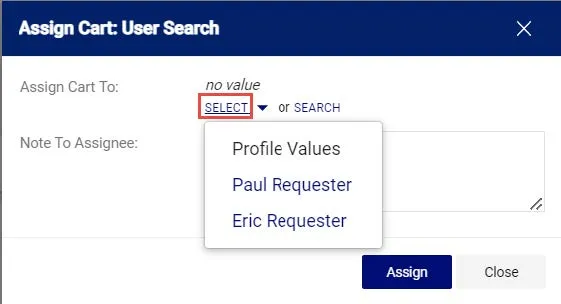
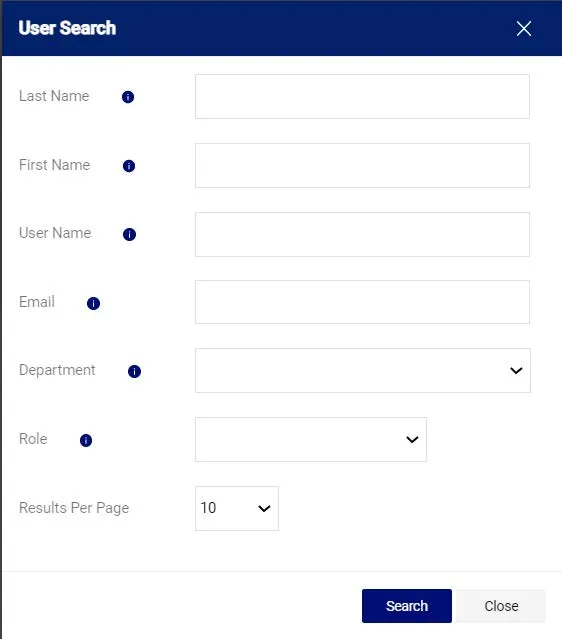
- You can Select a Requester from Favorites you created in your Profile or Search for any Requester that is setup in the Marketplace. Select a favorite, click the Select dropdown and click the desired Requester. Or, to search and select a non-favorite Requester or click the Search link. Enter the search criteria and click the Search button to view results. The Requester(s) appear in the search results.
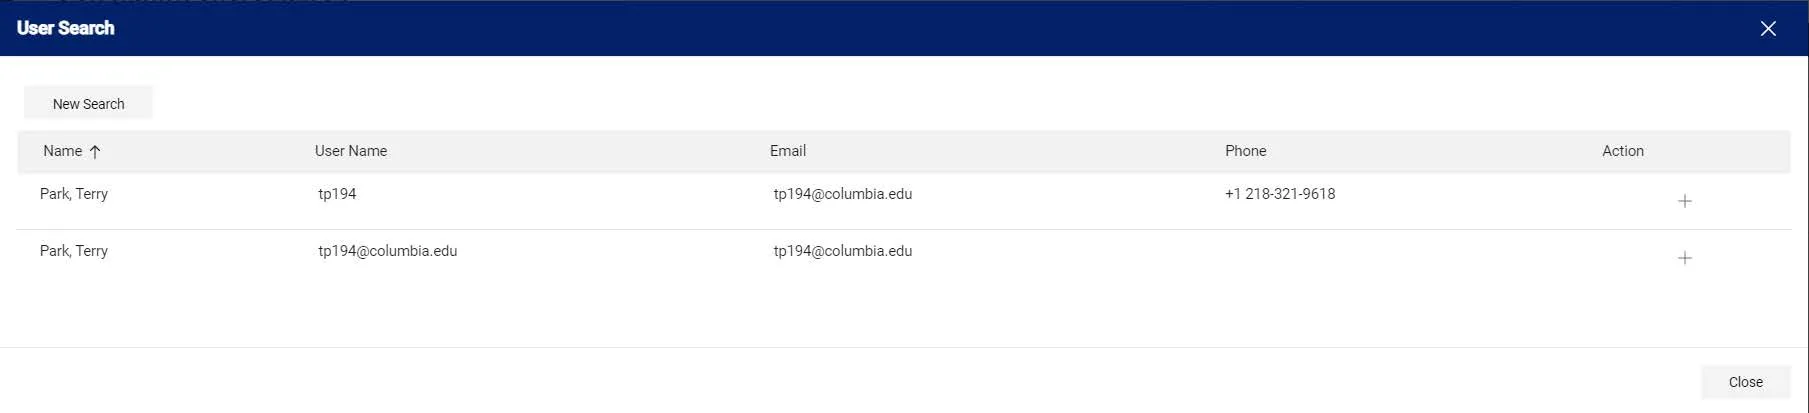
- Click the Plus sign for the Requestor you are assigning.
- If the Requestor is not a favorite, you have the option to select Add to Profile if you want to make them a favorite. Type a Note to Assignee, if needed, and click the Assign button. The assigned Requester will receive an email alerting them that your Cart has been assigned to them and will include your Note, which contains a direct link to the Requisition .