Receipts and Proof of Payment in Concur
This job aid details all the information and steps you need regarding receipts, proof of payment, and other documentation that may be required when submitting an Expense Report in Concur.
Last Revision: May 2026
Receipts for all expenses $50 or higher are required to be attached to the expense at the line item. Receipts must be provided for all air, rail, lodging, and rental car expenses. A receipt may take many forms (i.e. cash register receipt, copy of an order form, web receipt, or confirmation).
A receipt must identify:
- The date of purchase
- The vendor name
- An itemized list and unit price of the purchased items
- The total amount
Proof of payment is required to demonstrate that payment was tendered. Proof of payment is often included on the receipt. For example, if your itemized receipt shows the last four digits of your credit card, the receipt will also serve as proof of payment.
However, if the receipt does not include proof of payment, you will need to append it to your Expense Item. For example, restaurants provide an itemized receipt showing what was purchased for a meal, but often do not show proof of payment. After paying for the meal, the restaurant will provide proof of payment. Both must be submitted in Concur.
Proof of payment may be documented by:
- “Cash Tendered”
- “Paid”
- A zero-balance due
- Evidence of debit/credit charge
- Debit or credit card statement
A Missing Receipt Declaration must be added for Expense Items missing required receipts.
You can append any additional documentation to an Expense Item related to a specific expense or to an Expense Report related to the report as a whole. If you have attached a Missing Receipt Declaration to an Expense Item, any additional documentation for the expense should be appended to the Expense Report.
Details
Refer to the Creating Expense Reports in Concur job aid for how to create and submit an Expense Report. Attach receipts to Expense Items where they are required. Only attach receipts or other documentation to the Expense Item directly related to that expense.
Click Upload Receipt Image to search and select the image from your files to attach or click Choose From Available Receipts you can select a receipt from Available Receipts. The receipt image appears in the Expense Item screen. Or, you can drag and drop an image file directly into the section.
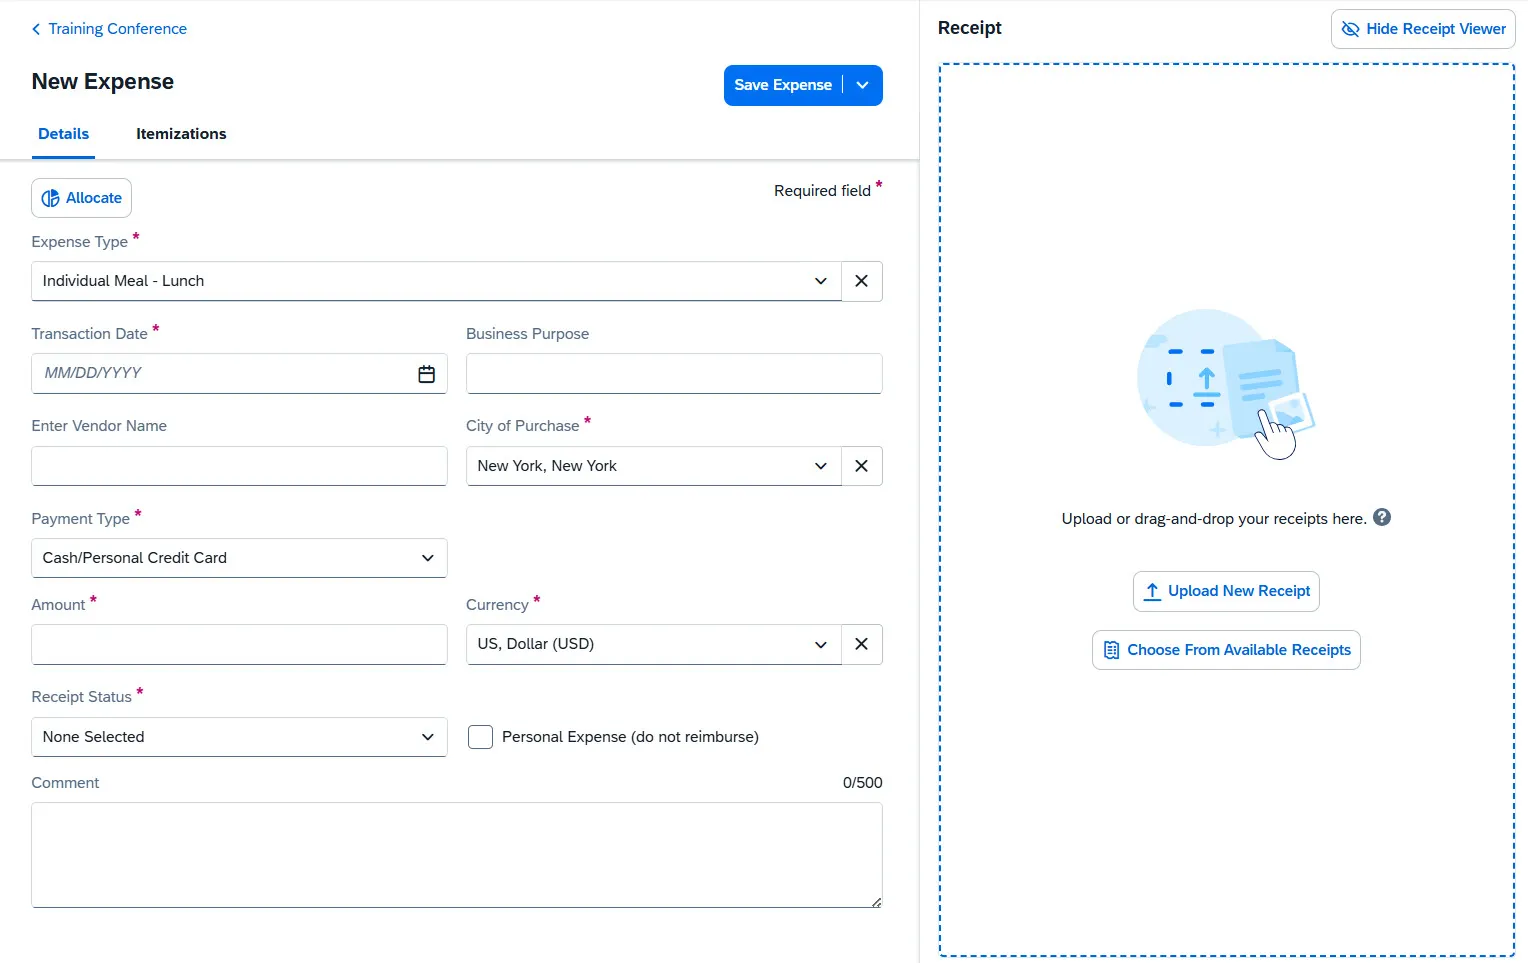
The receipt appears for the expense.
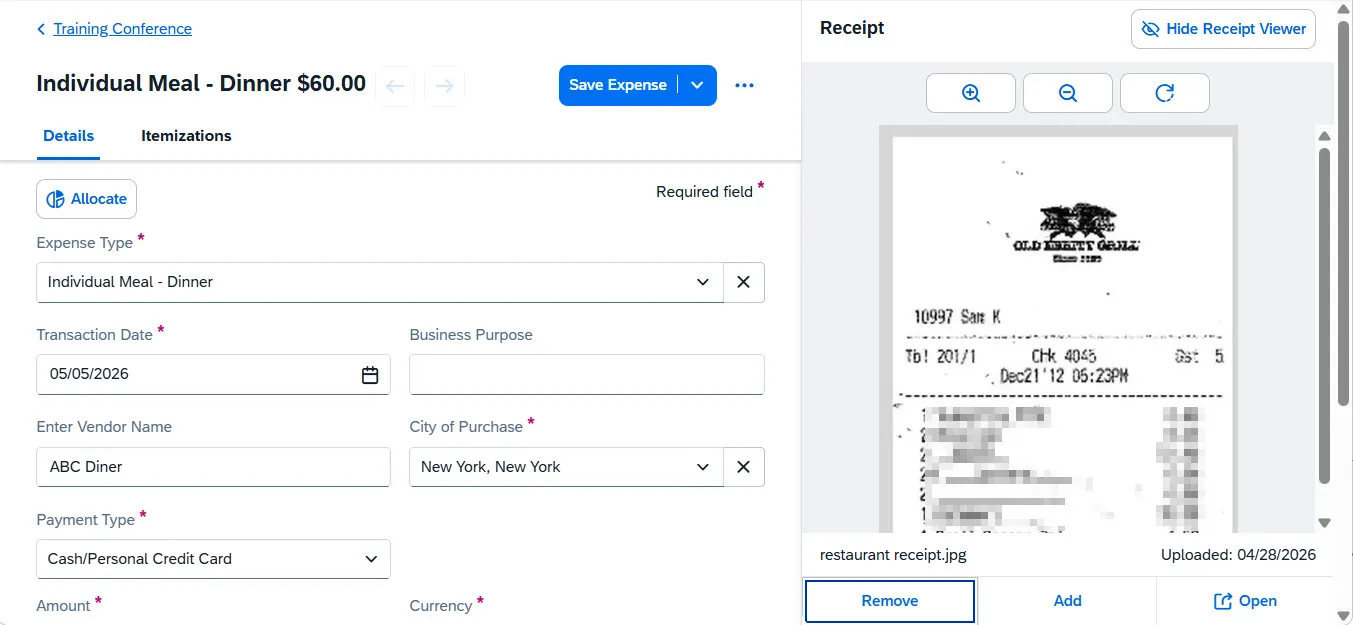
For an Expense Item where you have already attached a receipt but you need to append additional documentation:
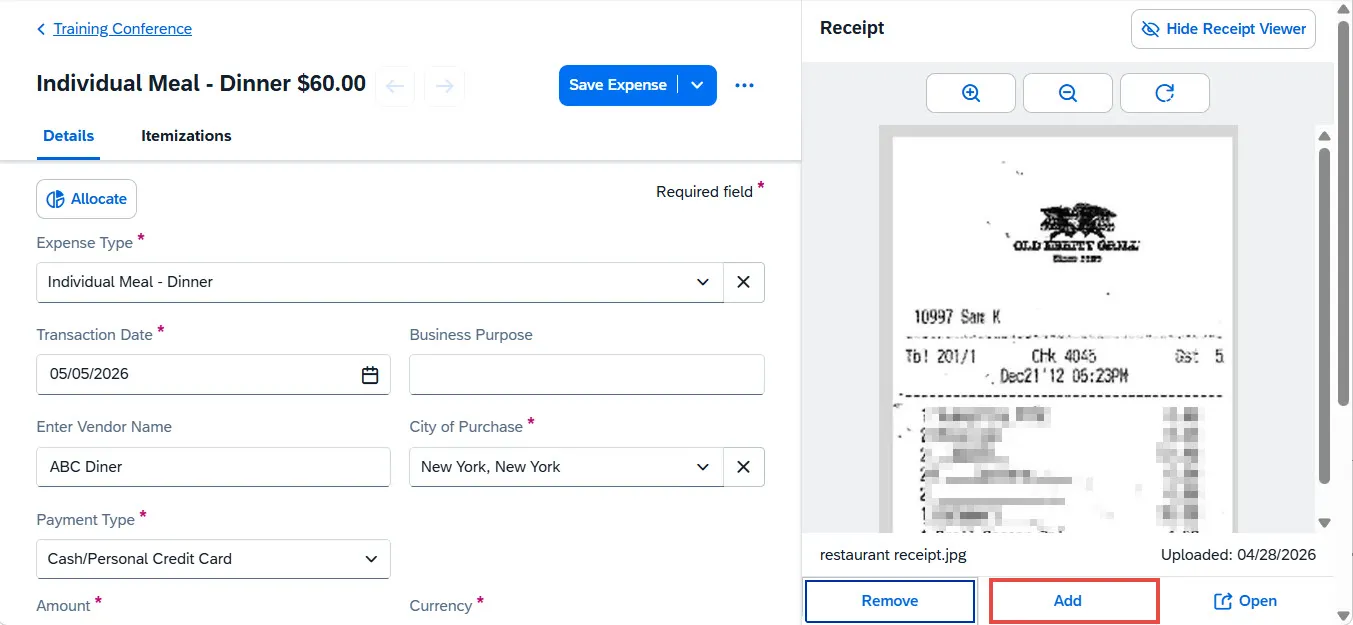
- Click the Addbutton. Available receipts and the upload button appears.
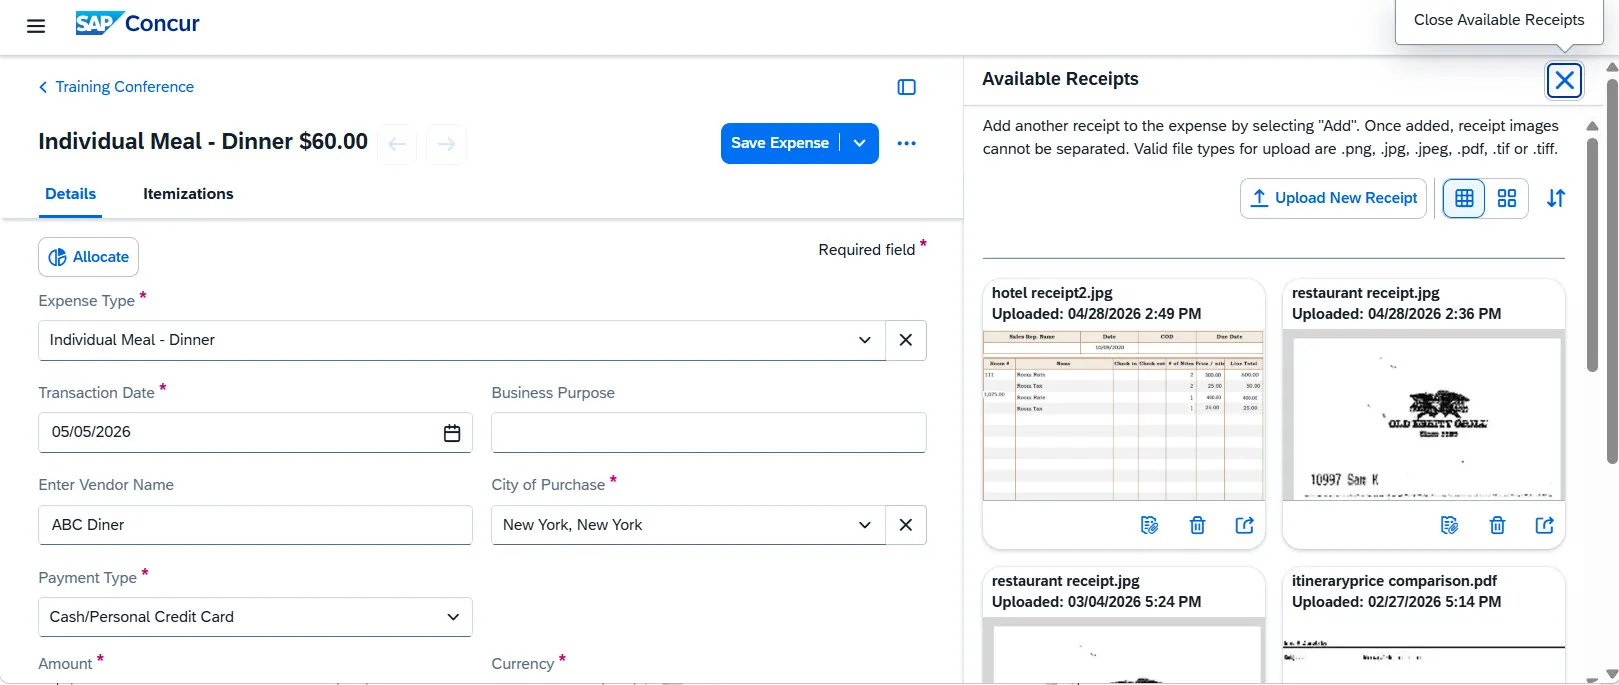
- Click Upload New Receipt or you can select a receipt from Available Receipts.
If you are missing a receipt for an expense where one is required, be sure to enter a Comment/Justification in the Expense Item before adding the Missing Receipt Declaration. If you add a Missing Receipt Declaration, you will not be able to append any other helpful documentation (i.e., proof of payment, card receipts, etc.) to the Expense Item.
See the job aid on Adding a Missing Receipt Declaration to a Concur Expense Item to learn more.
You can add documentation at the Expense Report level to help explain the overall Expense Report business purpose (i.e., itineraries, conference programs, etc.) not directly related to a specific Expense Item. If you added a Missing Receipt Declaration to an Expense Item, you cannot append any supporting or additional documentation to the Expense Item that may be required or helpful (i.e., proof of payment, card receipts, etc.). Instead, you can add additional documentation at the Report level, as well.
See the job aid on Adding a Missing Receipt Declaration to a Concur Expense Item to learn more about Adding Additional Documentation to the Expense Report.
When trying to view receipts that are PDF files, it is possible that Concur will require you to download it instead of previewing the image within Concur. This is caused by a setting that prompts the browser to download the PDF file instead of displaying the image. Follow the instructions below to correct this setting for the relevant browser type:
Google Chrome
- Open Chrome
- Click the Menu and click Settings.
- Click Privacy and Security from the left pane.
- Click Site Settings.
- Scroll to the bottom of the page and select Additional Content Settings.
- Under PDF Documents, select Open PDFs in Chrome.
Mozilla Firefox
- Open Firefox
- Click the Menu button and click Settings.
- Scroll to the Applications panel.
- Click the Action drop-down for the Portable Document Format (PDF) Content Type and select Open in Firefox.
Microsoft Edge
- Open Microsoft Edge.
- Click the Menu and click Settings.
- Click Site Permissions from the left pane.
- Scroll down and click PDF.
- Turn off the option Always Open PDF Files Externally.